* Jig Head/ Lead Head DIY Manufacture

Are you a Lead Head?
Firstly, this article is about a possibly dangerous activity. Please do not think about melting and moulding lead unless you are prepared to do it safely! The safety brief is at the end of the article.
I used do a fair bit of moulding many years ago. At one stage there was a local guy moulding and he was producing leads at a price so reasonable it was better to buy them from him than to make them myself. I gave him my moulds. Then he died!
There are a few reasons to consider some moulding. When it comes to jig heads I find that the choice is not there for me in the shops. I cannot get neither the shape or pattern of head I want easily nor can I get the weight range I want either. When I do see heads that might do me the price tends to be eye watering! Therefore moulding is an easy decision to come to. So it was largely a “lure thing” for me to start moulding. While I was moulding leadheads it was a logical progression to mould some standard leads as well.
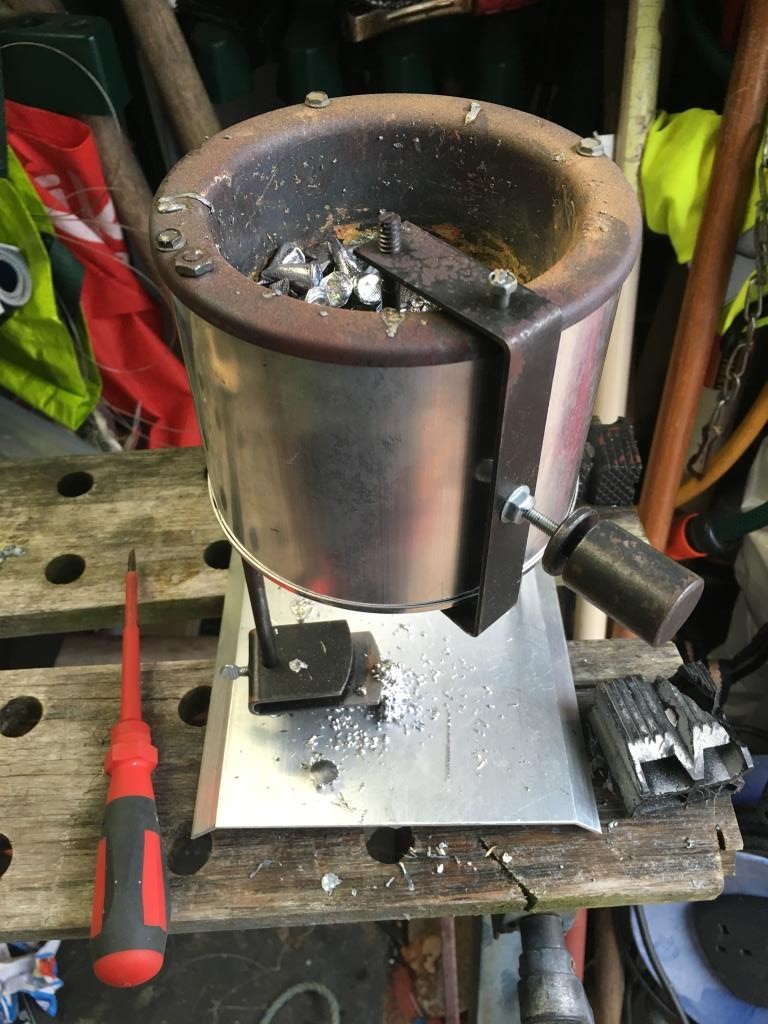
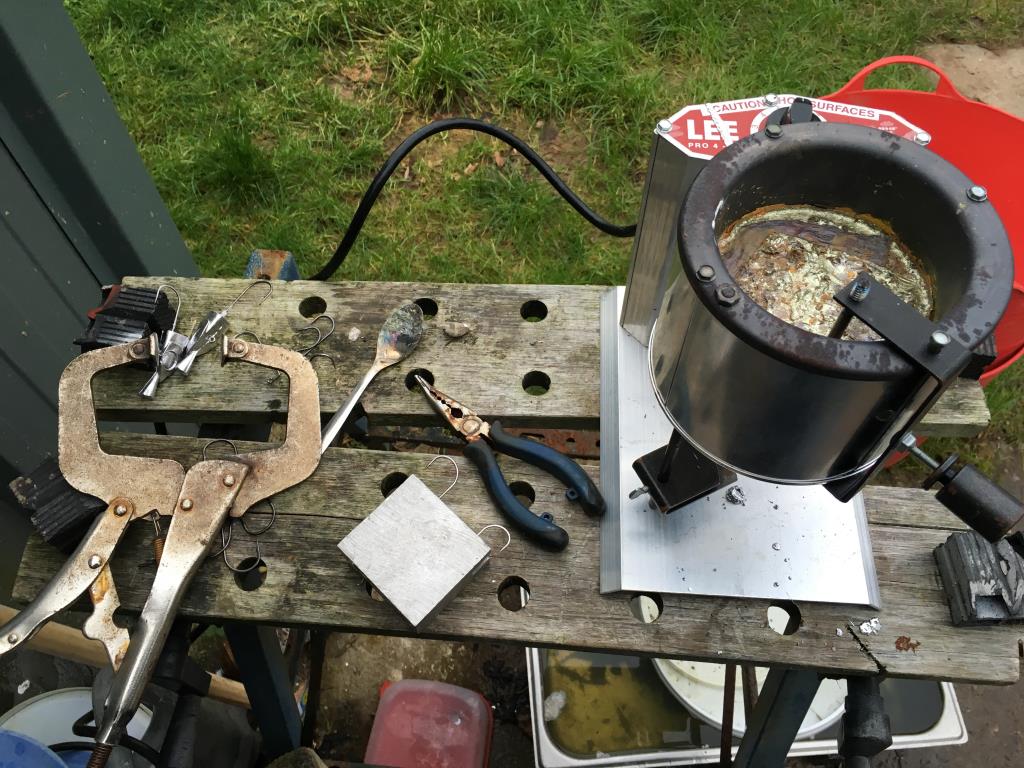
My first forays back into moulding had me melting lead in a stainless steel ladle over a gas ring. I would stress here that I like to do my moulding outdoors. The ladle worked well and once you were careful it was a perfect solution however it was logical to think about better solutions for moulding seeing as I was moulding more and more heads and leads.
The Lee melter is designed and built in the States primarily for people who mould their own ammunition. It happens to be a perfect tool for melting lead too. It also happens to be the safest solution that I have come across for decent control and safe operation when it comes to molten lead.
Moulds
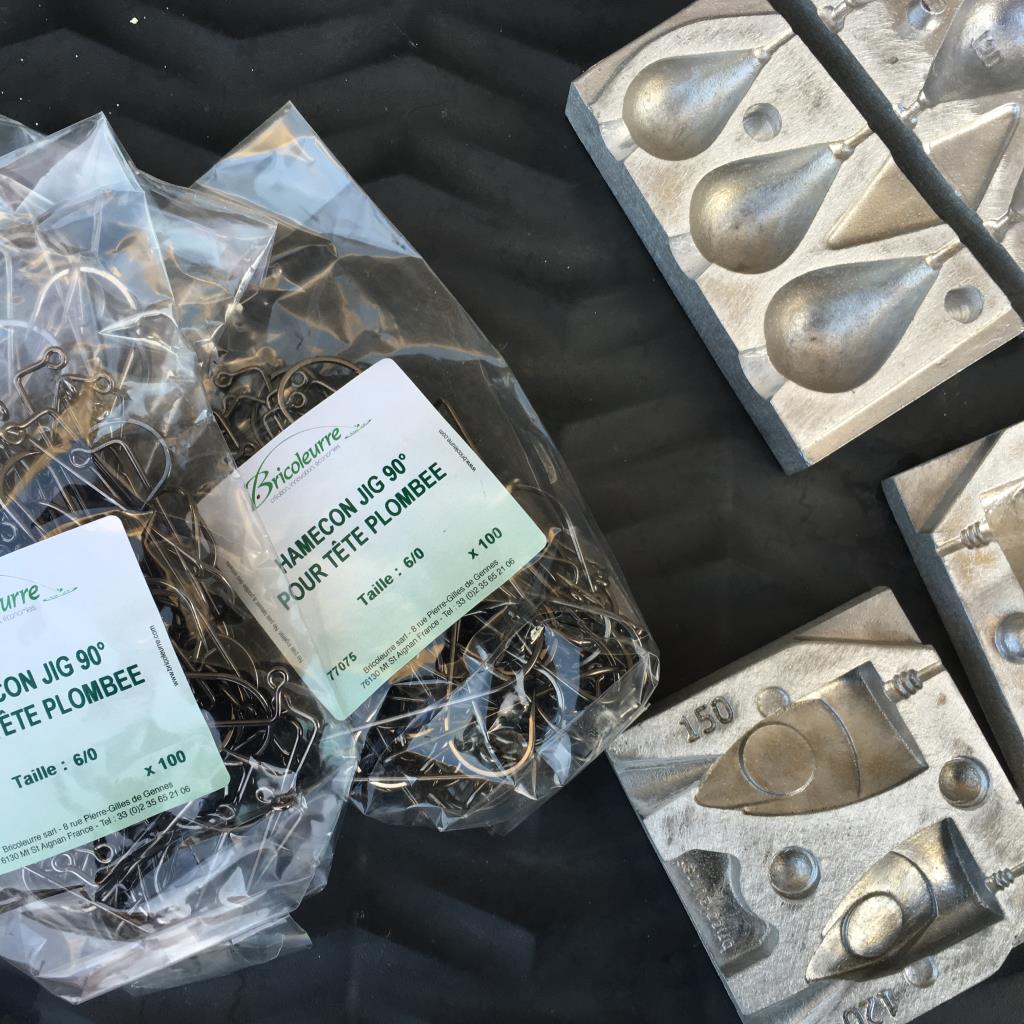
There are many different mould makers out there. Do-It from the US are one that spring to mind as being most famous. There are other manufacturers and dedicated websites where you can source moulds and equipment. I have used Bricoleurre in France for most of my moulds. There are also some sellers on ebay specialising in moulding a quick search of “lead mould” will bring up a vast amount of moulds and sellers.
The Manufacturing Process
All you need is a mould, a few clips, wires or hooks and of course a ready supply of lead.
Gather lead from all quarters do not worry about the condition, just gather. Obviously the cleaner the better but all lead can be used, cleaner is easier. I select my best lead and I clean it if needed and I cut it into handy sizes that will fit my melting pot. Usually I have some left over lead in the pot so I set about melting this while getting more ready for the session (Lee recommend that you leave lead in the pot when you finish). It is better to remove as much crap off the lead before melting. You will be scraping scum off the top of the lead as it melts anyway but it is good to watch for and remove stuff that could catch fire.
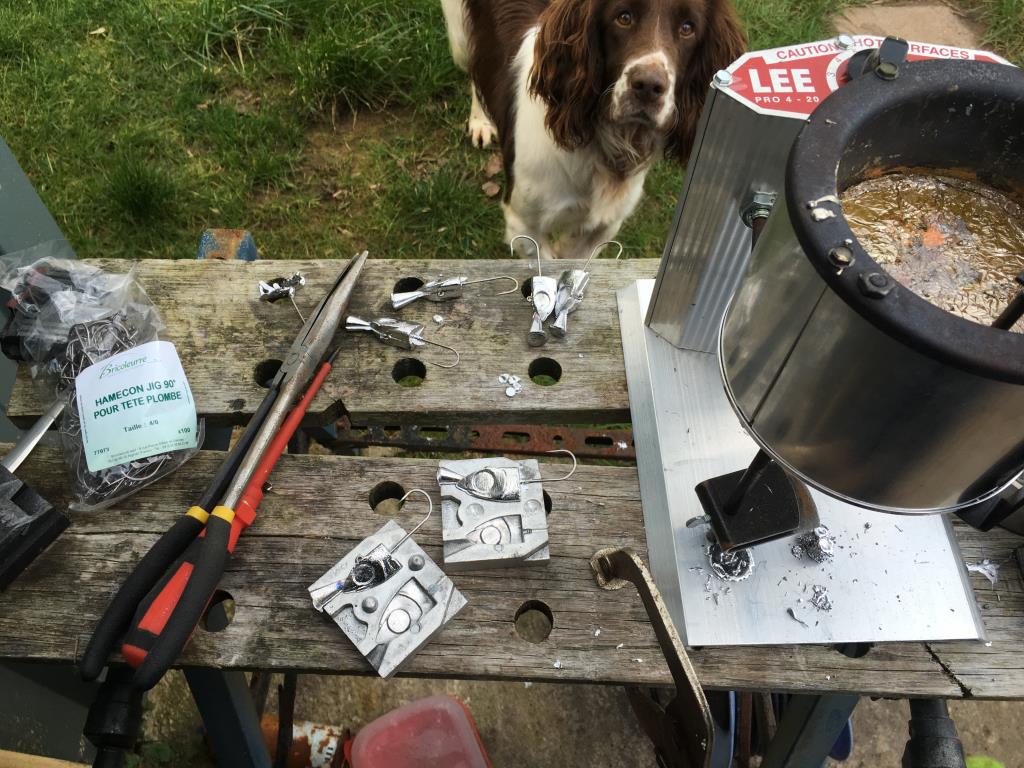
I am going to make some jig heads. In this case I need some hooks and or some stainless “Piano wire” depending on the type of head required, articulated or standard. Hook size will vary depending on the weight and of course you really need to select a high quality hook. There are plenty bendy hooks out there so pick a decent quality make. I use the hooks supplied by Bricoleurre I tried them out when I first got my moulds and have yet to find a better value quality hook ( I am always open to new information!)
I like to get all my equipment together and get the whole lot set up so that I can get into “production mode”. As my lead is melting I will begin the task of loading the mould with hooks. I have found that by putting a little blu tak into the end of the mould at the point the hook exits the mould; the hooks are held in place easily and securely during the moulding process. The first pour into a cold mould can sometimes mess up so you might want to have a pour without hooks just to heat up the mould. Depending on your mould you may need some form of clamp to keep the two halves together during the pour. A poorly clamped mould will leave extra work to be done tidying up the head afterwards. The Bricoleurre moulds I use are just plain aluminum blocks and so they need to be clamped. I find that a c-clamp vise grips is the perfect tool for the job.
And so it begins: Load the hooks. Clamp the mould. Pour the lead. Split the mould. Pop out the hot heads. Load the hooks. Clamp the mould. Pour the lead and repeat over and over and…
You will find that you hit the zone and you will manage to churn out more heads than you thought possible in a relatively short space of time. I had one of the lads over recently for a making session. He could not believe the amount of jig heads we turned out in an hour.
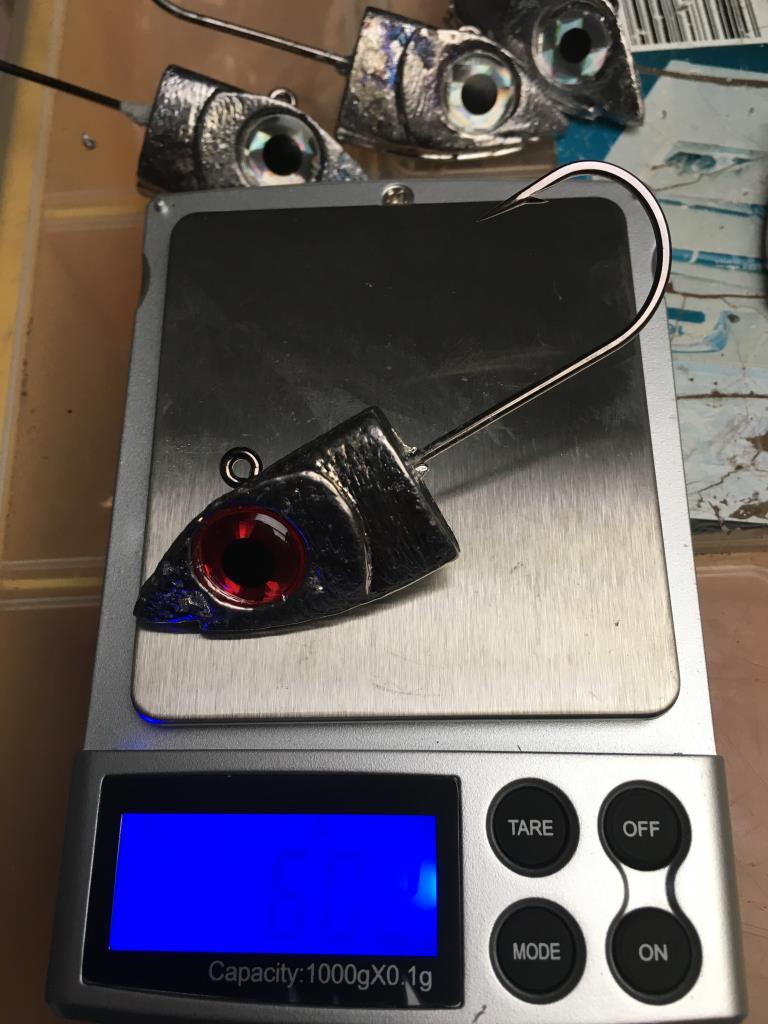
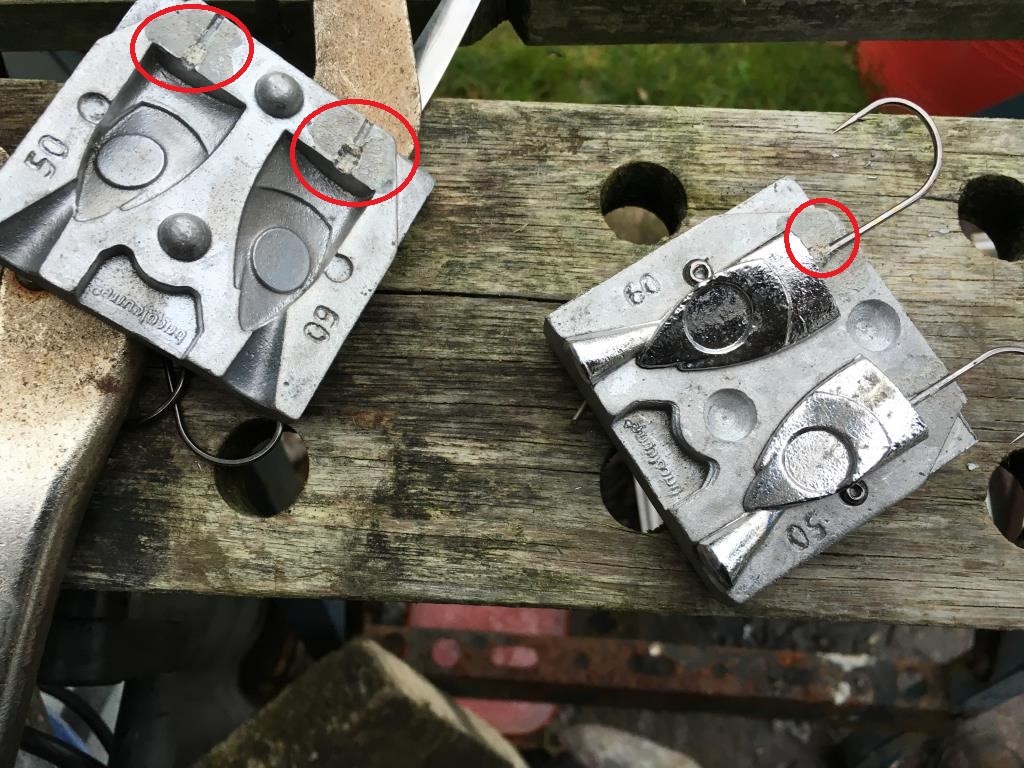
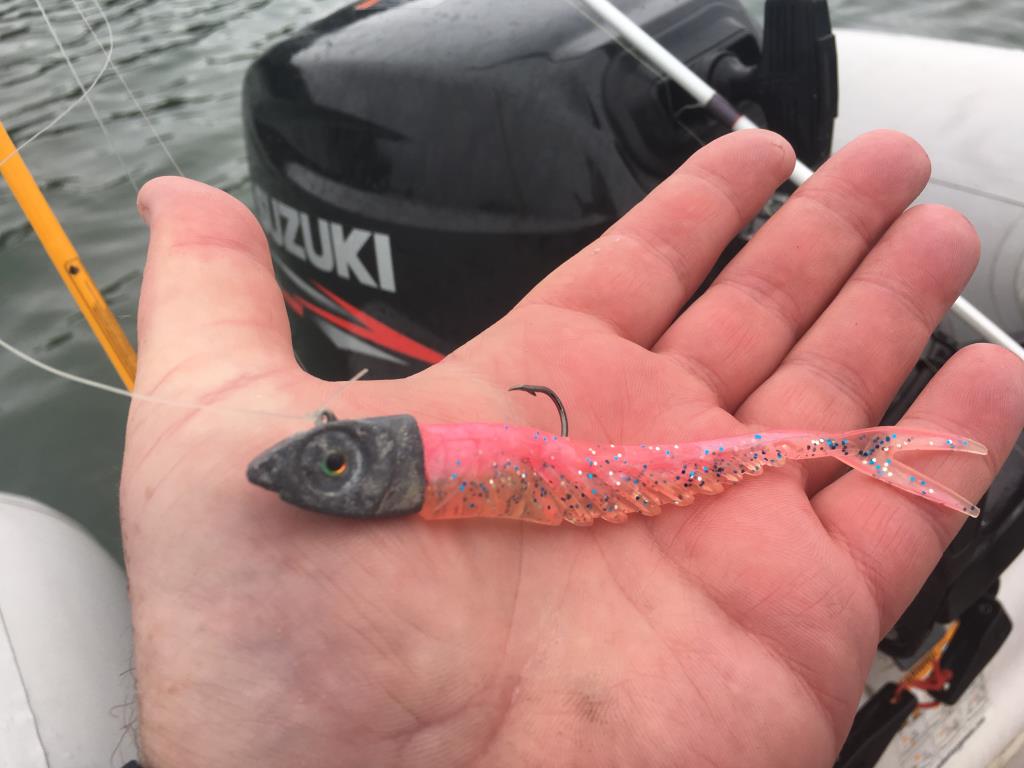
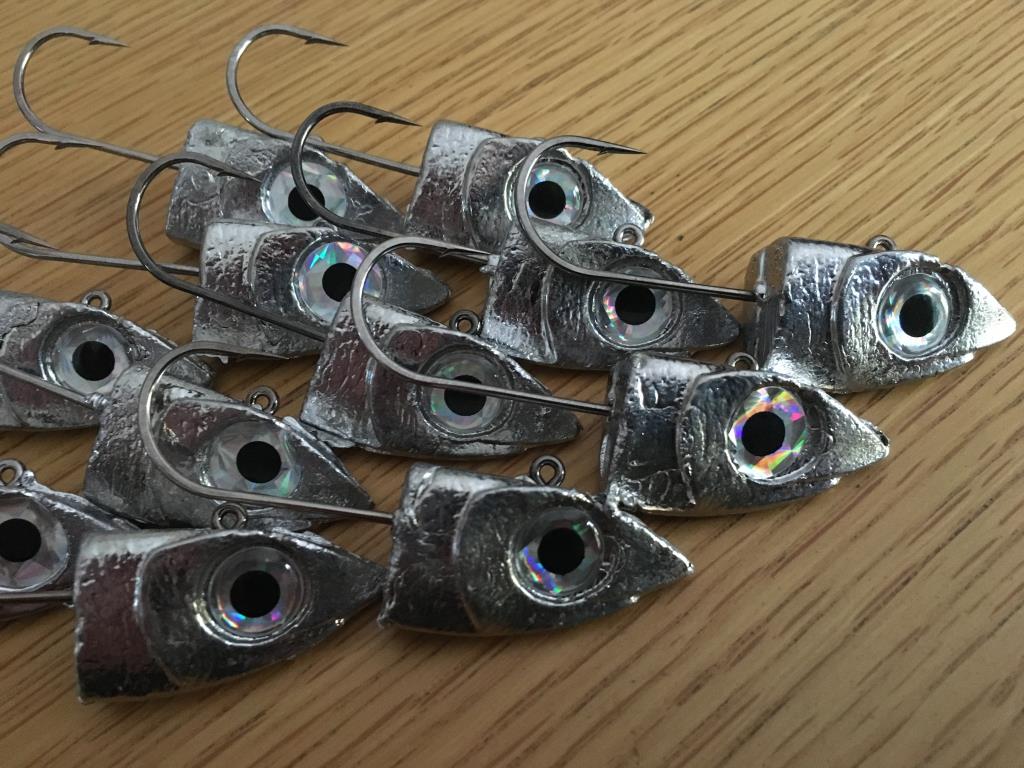
It’s not over yet though. There is a degree of fettling to be done to the jig head . The piece of metal were the lead is poured, called a sprue, need to be removed. a metal snips does this job. Any other burrs and rough edged are sorted with a utility knife. At that stage the heads are ready for painting. I do not normally paint my heads but I do like to add eyes. I like to add the eyes when the heads are still warm as I think it helps the glue in the eyes stick better. It certainly helps to stick on the eyes before the lead gets tarnished. When lead is moulded first it is shiny. Once exposed to oxygen it soon tarnishes to the normal lead colour we are used to.
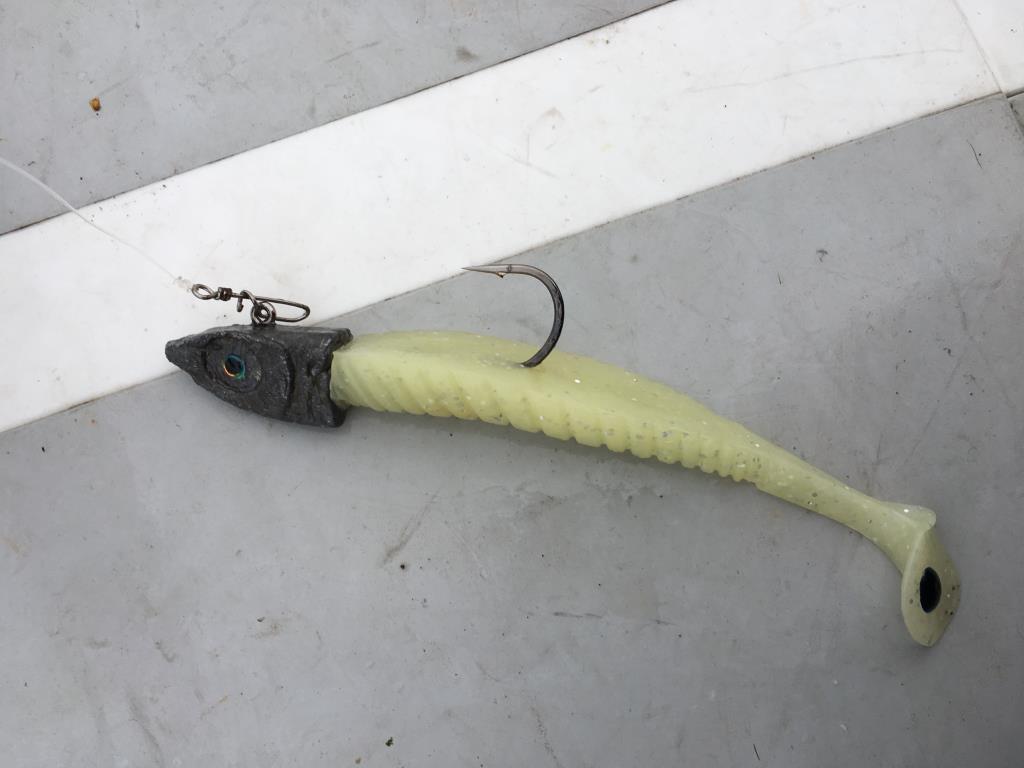
Many jig heads include a “barb collar” that is meant to help keep the body attached to the head. Experience would suggest that this barb and collar only manages to split the soft bodies that are in use today. I prefer to glue the body to the head so the collar is surplus to requirements. The Bricoleurre mould had a tiny collar. To be rid of it i use blu tak to prevent the lead from reaching that part of the mould. It is easier to do this that trying to remove the collar afterwards.
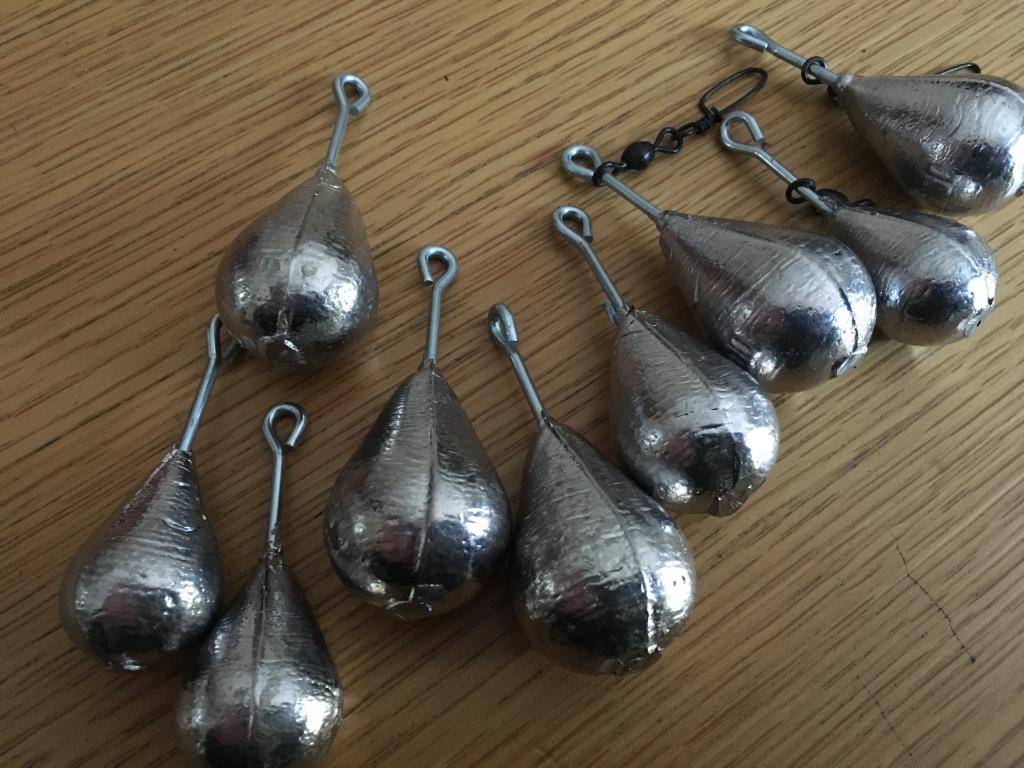
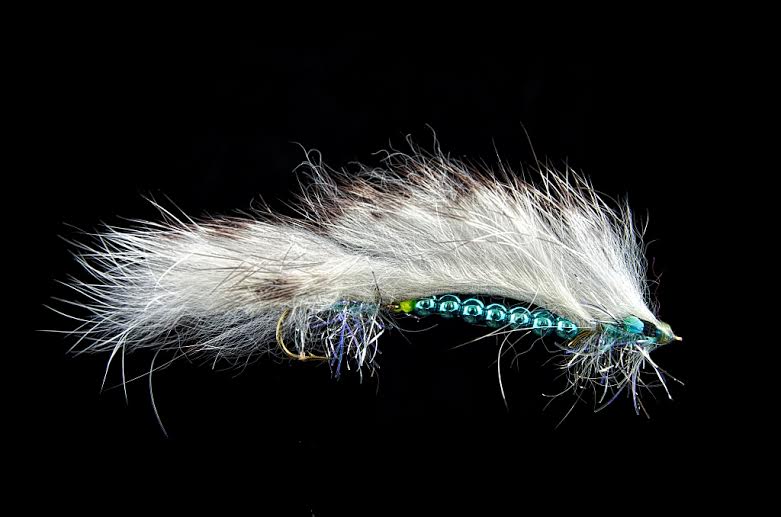
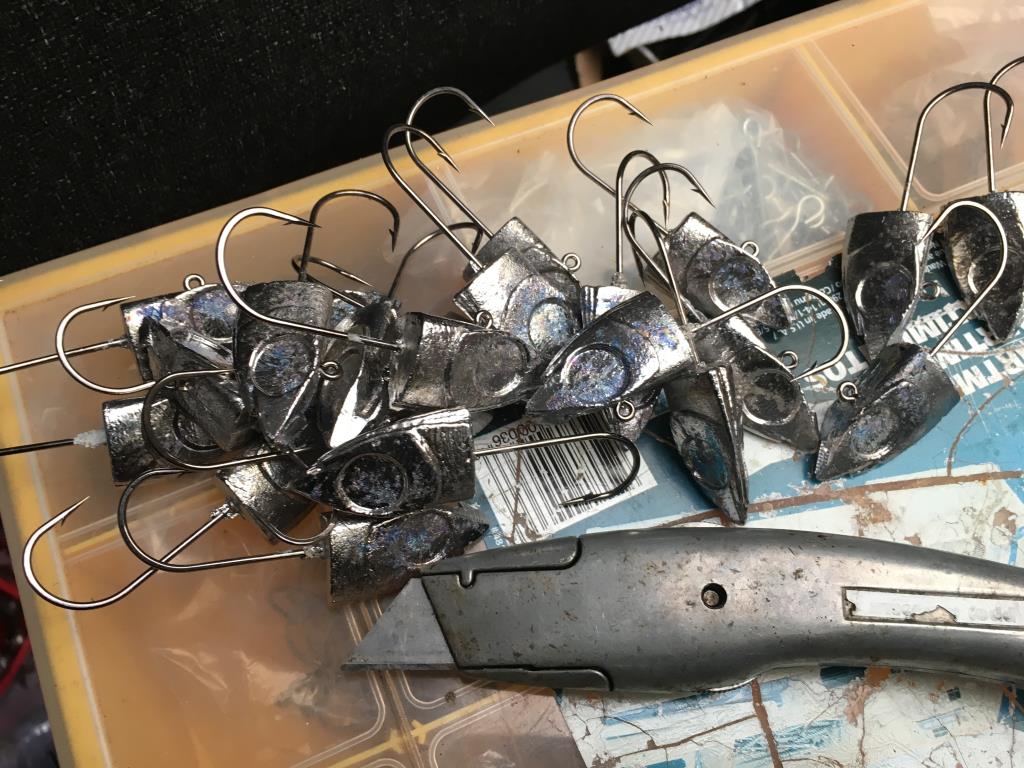
At this stage your jig heads are ready for a swim. All you need now is to dress some up with bodies and have them ready for fishing.
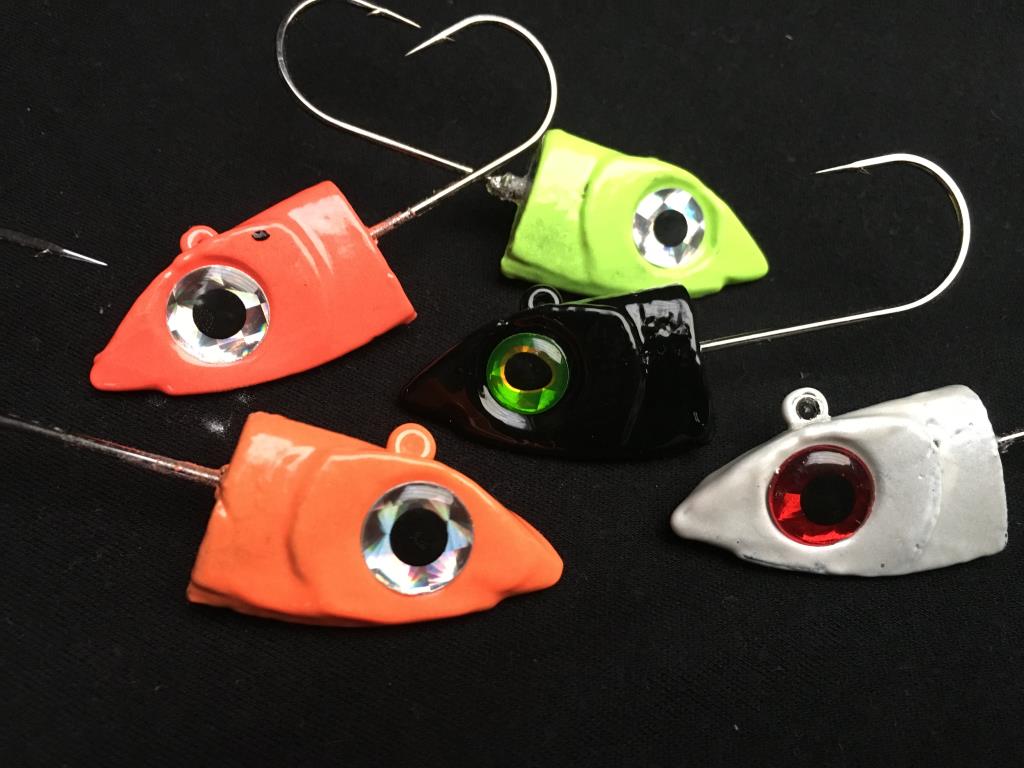
Jig Head Profiles
You will see from a look online that there are many many different profiles or type of jig head. You will see that there are differing hook placement and of course there are so many different weights. The standard jig head you see often is the round head with barb and collar. Often the shop-bought versions have a heavy wire hook that can be hard on soft lure bodies.
I have experimented with many different profiles – ball, rugby ball, different hook angle and so on. After the experimentation I have settled into a favourite type. While the ball type are fine; a tap with a hammer on each side makes a flat face for sticking eyes to, they do not look the part (pure vanity here!). After experimenting with a few different moulds I have settled on the range of Bricoleurre V2 heads and have purchased the complete range of moulds. The V2 head suits me and my fishing. I like the head in terms of its shape. I like the look of the head when it is dressed up with a nice set of eyes and a supple body. The V2 moulds are available in pair of heads – 10/15, 18/25, 30/45, 50/60, 80/100, 120/150g. The moulds are not overly expensive especially considering the quality of the moulds and the quality of the finished heads. Depending on your location and your preferred fishing you can select a range of heads to suit.
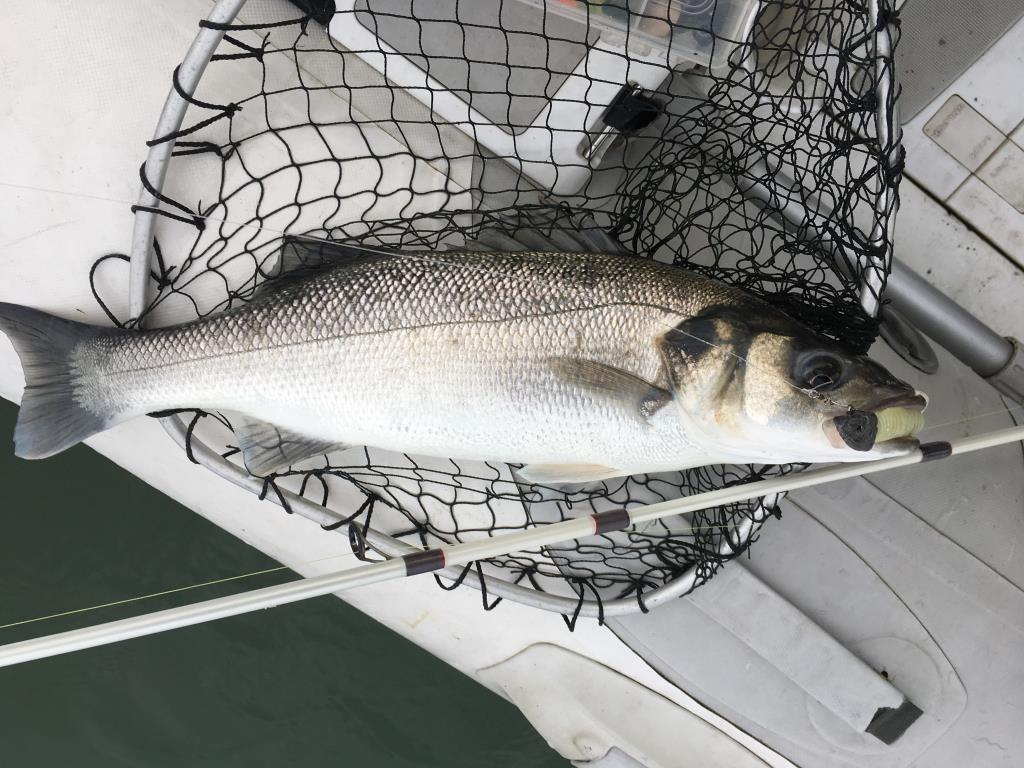
I use the 10/15g 18g heads for casting. The 25,30,45 are the heads I use most and these cover the majority of situations – drifting for bass, cod, pollack. The heavier heads do the business when I am fishing deeper water or when I want a lure that is nailed to the bottom to attract a particular species.
Soft lure fishing is very satisfying. It is a very successful technique. If you told me a few years back that I would be fishing during the winter using lures alone I would say you were mad. Yes, you have to get the conditions right. Not all venues are suitable for lure fishing – think your local estuary after a spell of rain and the water is the colour of soup! But when the conditions are right the method will catch as many or even more fish than traditional bait methods.
Making my own jig heads has helped my lure fishing no end. Losing a lure/head combination still hurts. It just hurts a bit less than if you had spent a lot of money on shop bought heads.
Making my own heads also gives me something “fishy” to be doing during the winter months. A session making heads does not replace fishing but it certainly keeps the fishing brain active.
Safety Briefing
- Lead has a low melting point and high density which makes it the ideal substance for fishing weights and jig heads. Lead gets bad press and has been banned form many commercial freshwater fisheries. For the time being at least we can still use lead in salt water.
- Lead is a toxic metal: It is a neurotoxin and it accumulates in the tissue of the body. While not wanting to overstate the danger, smoking is probably still more dangerous, you should avoid melting lead in a poorly ventilated environment. Best do your melting outdoors where possible.
- Even just for cleanliness, you are better off using gloves when handling lead. Obviously keep your unwashed hands away from your mouth!
- Molten lead will burn severely. While gloves are a must, so are safety glasses.
One thing I never forget, due to a steep learning curve, is that water and molten lead can lead to an explosive situation. Never use water to cool your mould unless you can be sure that every drop is gone before pouring again. If you are going to melt down old leads make sure to give the lead a slap of a hammer to make sure there is no water inside the lead (It does happen). I have personally seen lead explode from a mould when there was water present. It was a lucky lesson in that there was nobody seriously hurt but I still have a scar to show!
So in short, treat molten lead with respect and make sure to take the proper precautions and there is no reason why you cannot have a safe session every time.